How to install under eave vents & replacements
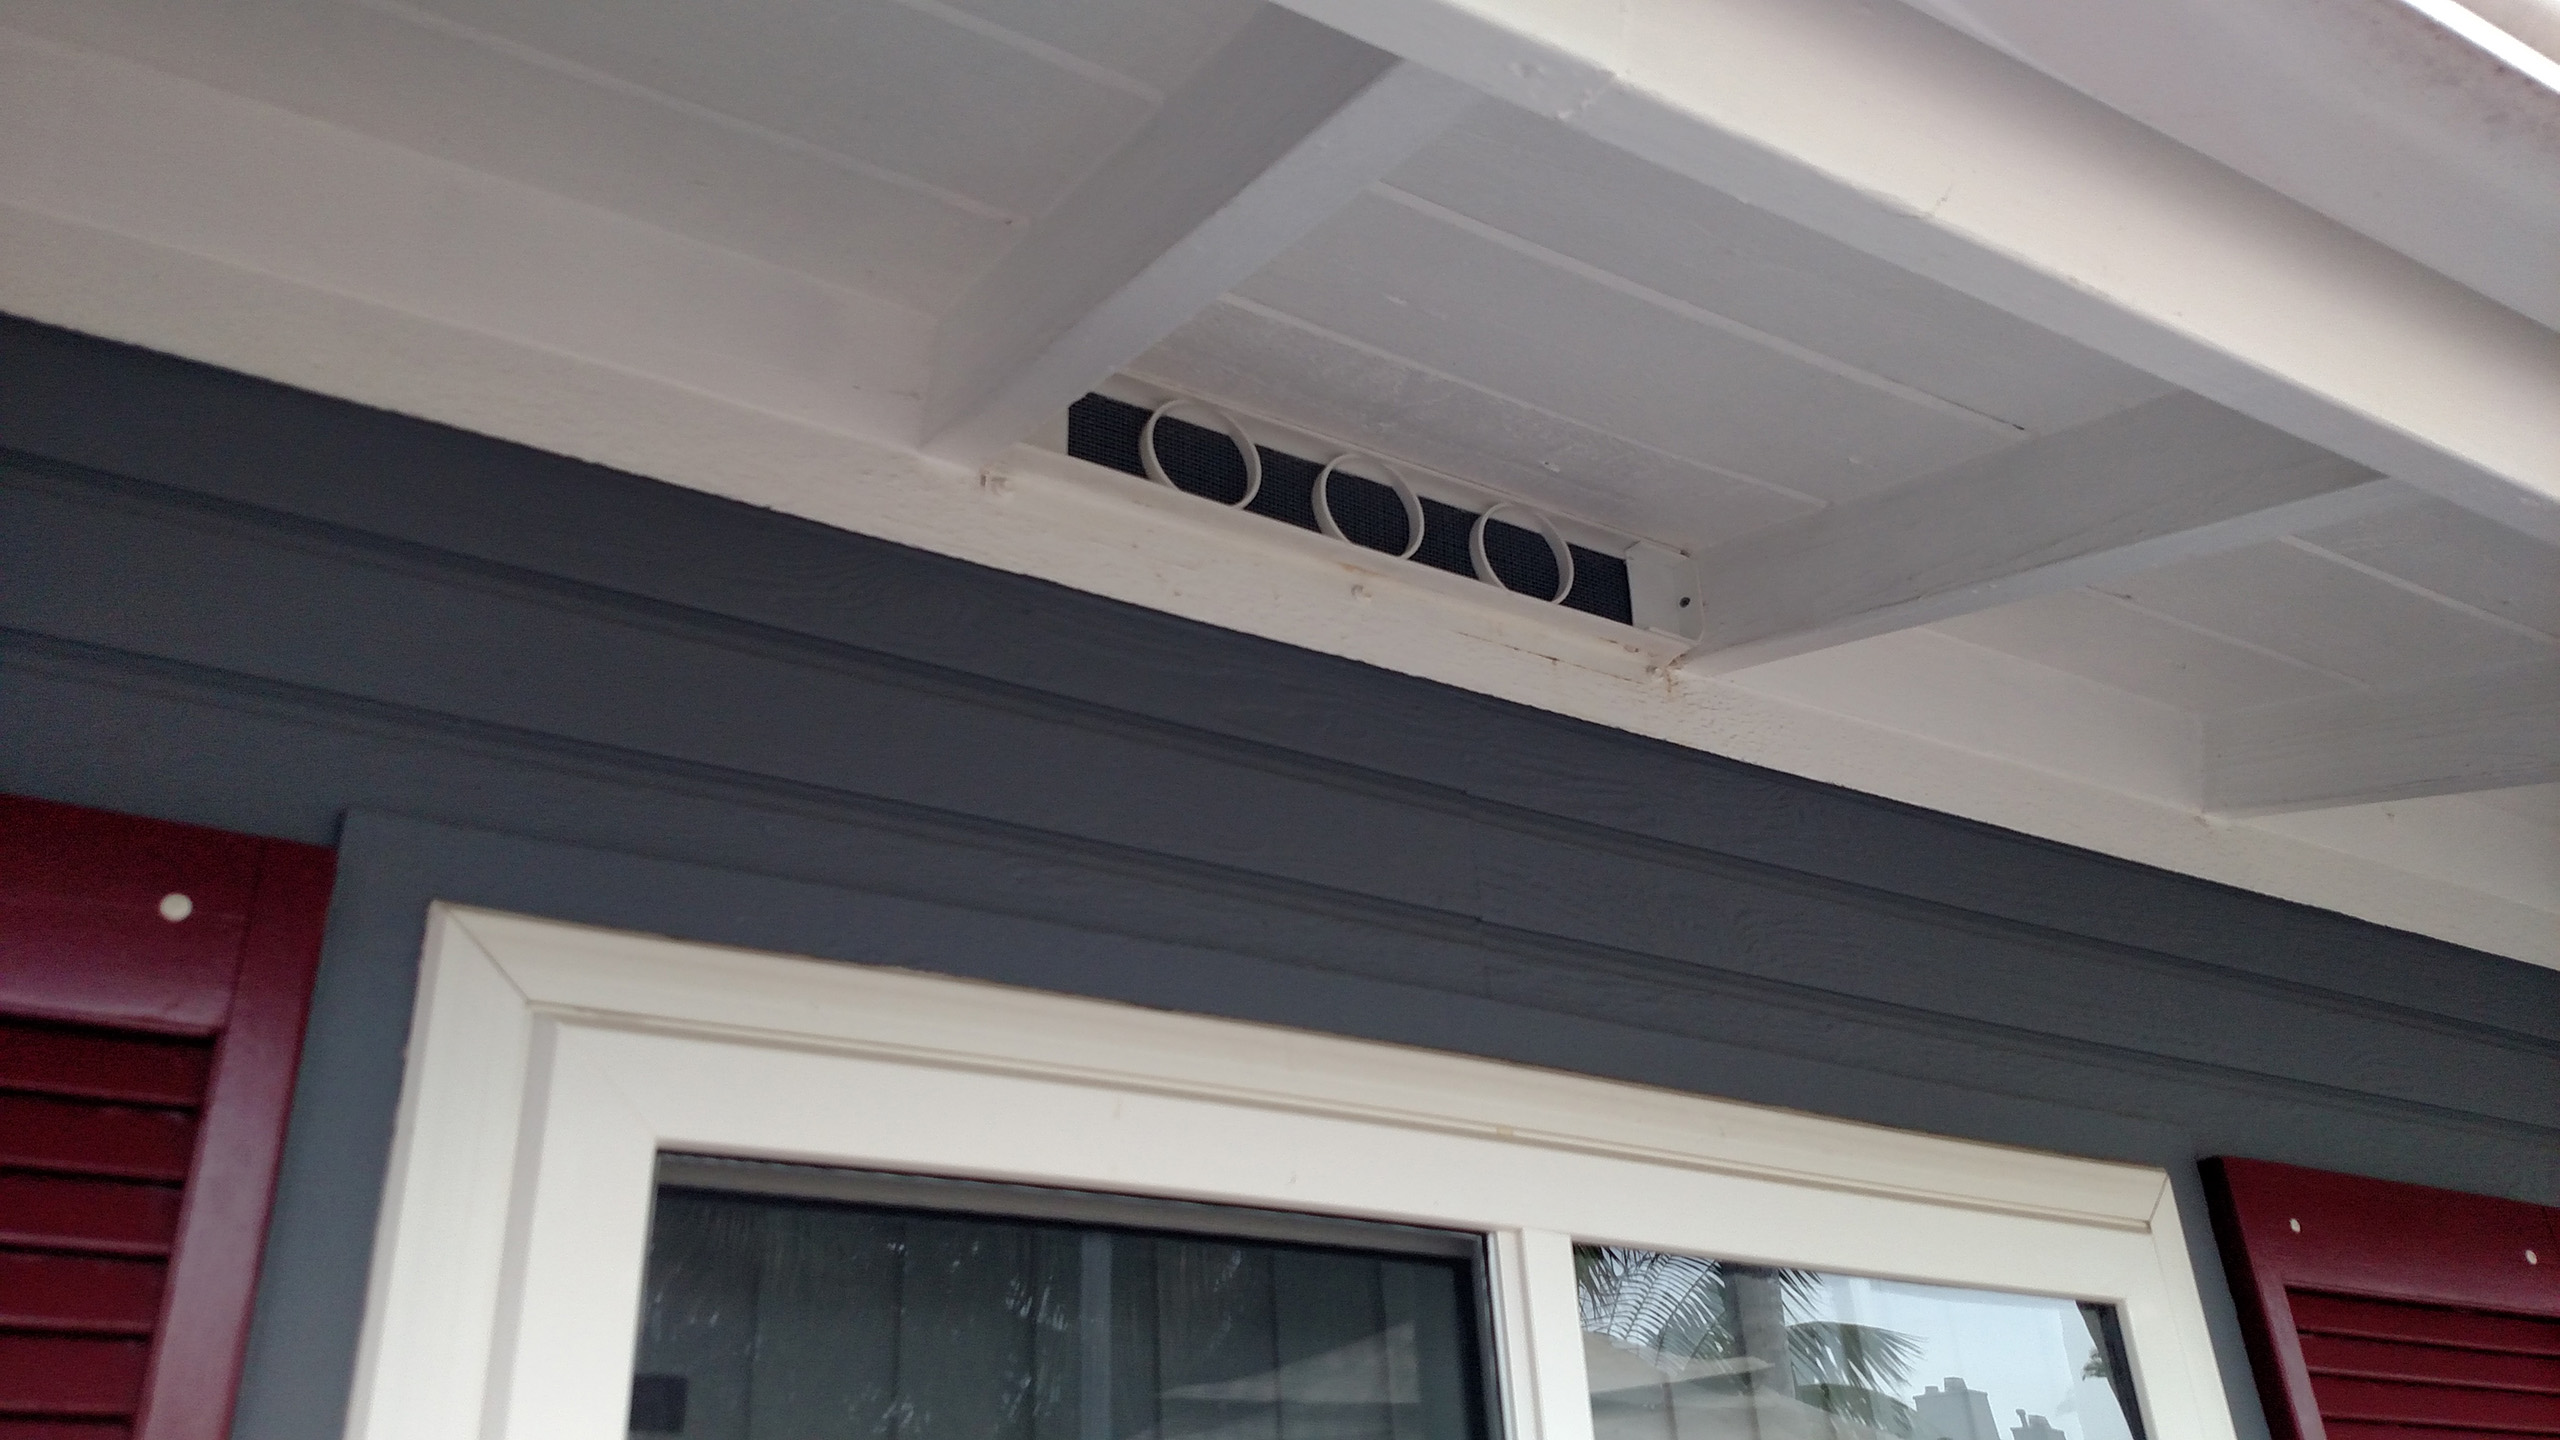
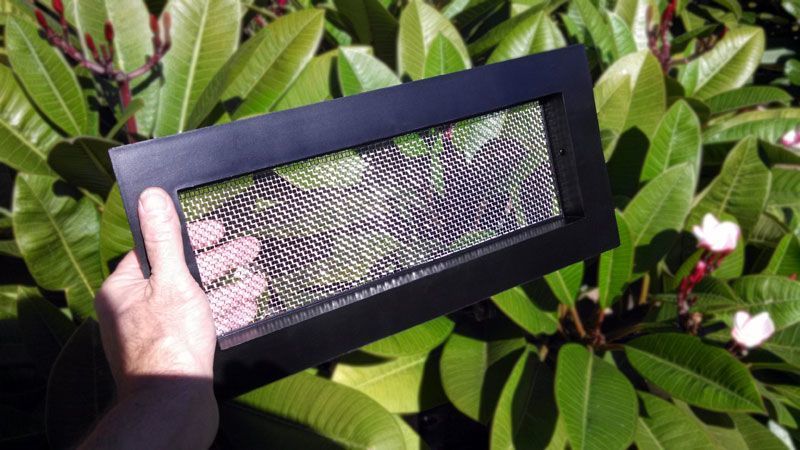
AV200: Under Eave Attic Replacement Vent, 2x4 Rafter Tail
AV200 Retrofit / Vent Replacement:
- Leave old vent frame in place (may remove or retain old screen).
- Push EZRvent into old vent opening and adjust size.
- Fold under and trap excess mesh (Excess may be folded forward against rafter corner or trimmed at full adjusted length position).
- Install with two 1- 1/2” galvanized screws (included)
It is as east as that!
AV200 New Construction Installation Instructions :
- Rough Opening: Rafter Spacing should be between 22” to 23-1/2”.
- Push EZRvent into old vent opening and adjust size.
- Fold under and trap excess mesh (Excess may be folded forward against rafter corner or trimmed at full adjusted length position).
- Install with two 1- 1/2” galvanized screws (included)
AV200 Pro Tips:
- AV style Vents can be cut down to fit smaller sizes in length.
- Extra mesh length was provided to piece multiple vents or vent trimmings together for longer rafter spacing / openings. •
- Height dimension can be adjusted by tilting if installing into soffit opening for a tight fit.
- Removing old screen/ mesh improves air flow.
- Use Painters Caulk to fill gaps and transitions for a higher grade finish.
- Upgrade the Provided Screws:
For Copper and SS vents, we recommend using 1- 1/2" or 2" low profile Stainless Steel Star Drive Flat-Head Wood Deck Screws. But those require specialty drivers and are not included. For concrete & masonry installation, we recommend swapping out the screws to Masonry type screws (See FV style masonry installation instructions). - Black-out Paint Jam Sill:
On high-end jobs, after removing old vent and vent screen, Black-out Paint the rafter framing blocks/ area behind the new EZRvent Easy Eave and in vent opening with black spray paint. This really makes backgrounds disappear and the finished job look great!
Painting EZRvent Vent Frames
See our detailed EZRvent Painting instructions for How to Paint Polypropylene Frames


